
A list of tables by chapter is required in the first part of theses, internship reports…

It is a more advanced form of automatic content indexing.
The difference between a table of contents and a list of tables (images).
- Contents Table of Contents: based on headings titles and page numbers.
- List of tables (image): based on the number of Heading and automatic number to insert comments.
For example, the 3rd image in chapter 1. You will have the caption “Figure 1.3 image name”.
And then get the page number at that figure to create the table (image) catalog.
As shown in the picture above, you must have understood the list in the thesis, right?
Once you understand, let’s do it ?
Prepare to create a catalog
To create a list, you also need to prepare 2 parts that are annotation format and create a Multilevel List for Heading 1.
Comment Format
The goal is to make your captions look as good as you want without having to change the format every time you insert a caption. If you do not need to be beautiful, skip this part :)).
Press the Alt Ctrl Shift S key combination to bring up the Styles panel. Then turn on the display for Caption (caption) according to the steps as shown below.
Note: if you want to save what you are doing to the new text file, then choose New documents based on this template every step before OK.

After Mr. Caption appears on the Styles panel, click the window button next, select Modify, and format as you like.

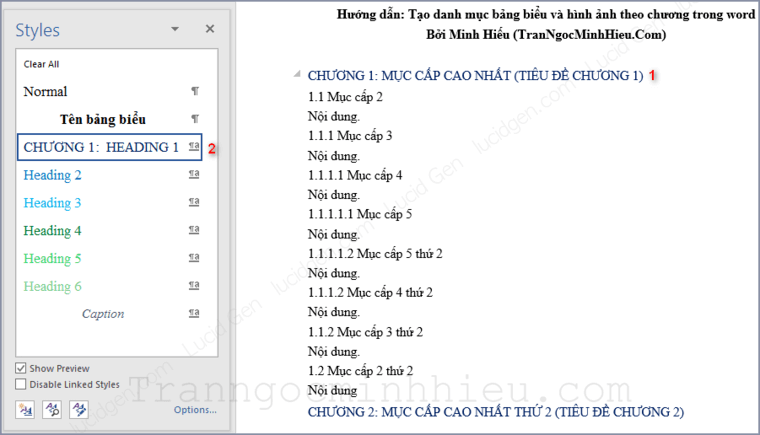
Create Miltilevel List for Heading 1
You must create a Multilevel List for Heading associated with your chapter, and then the new list will be numbered by chapter. Usually, Heading 1 is used for the chapter.
At home, click the Multilevel List icon and select Define New Multilevel List.

Click the More button in the lower-left corner to expand the settings. Everything is as shown below.

Note: My chapter title is capitalized, so I write “CHAPTER”, if your chapter title is lowercase, write “Chapter”.
Now that you assign Heading 1 to your chapter titles, it automatically understands the running chapters according to the Multilevel List.
Place the cursor in the chapter title line, and then click its Styles.
Create a portfolio of images
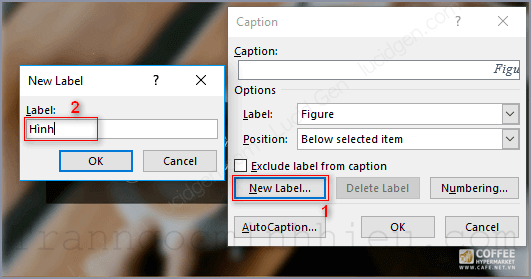
Or called creating an image table of contents. Example Hieu has a picture in chapter 1.1.1 of chapter 1. Now we insert a caption for the image by right-clicking on the image and selecting Insert Caption.

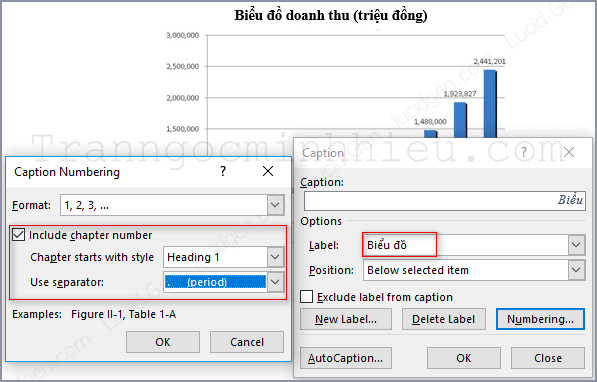
The caption panel appears, select New Label and write “Image” and then click OK.
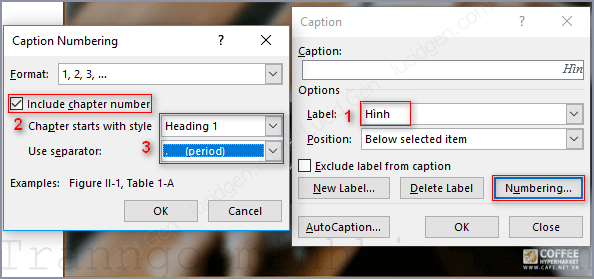
Select the Label as “Picture” or the name you just created, then click Numbering and set it as Hieu here.
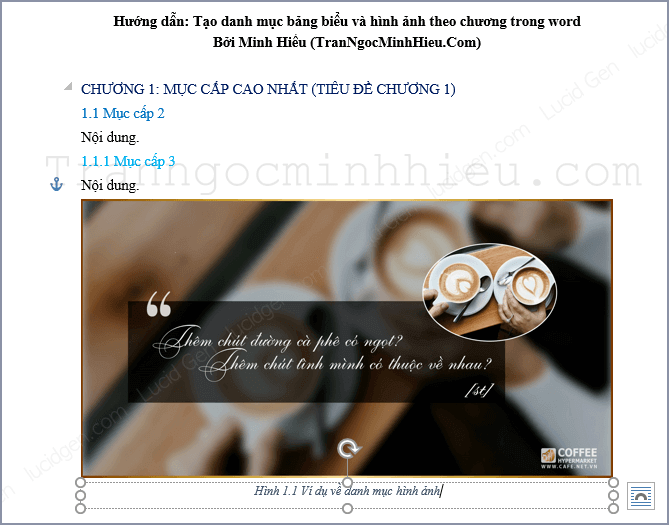
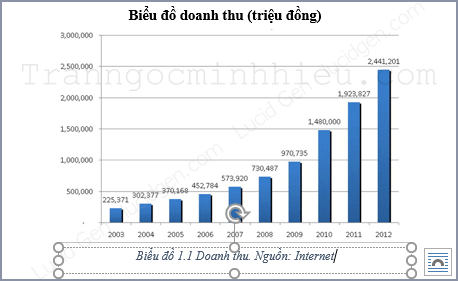
Click the OK button, and it will appear a caption textbox under the image, write the name of the image in the caption.
Create a list of tables diagrams
Similar to New Lable is “Chart”
Finally, add chart information. Don’t forget to credit the source :))
After inserting all the captions for tables and images, we now export the list. Place the cursor where you want to export, in the References tab select Insert Table if Figures as shown.

Now you choose Caption label as “Chart” or “Picture” that you created earlier and click OK.
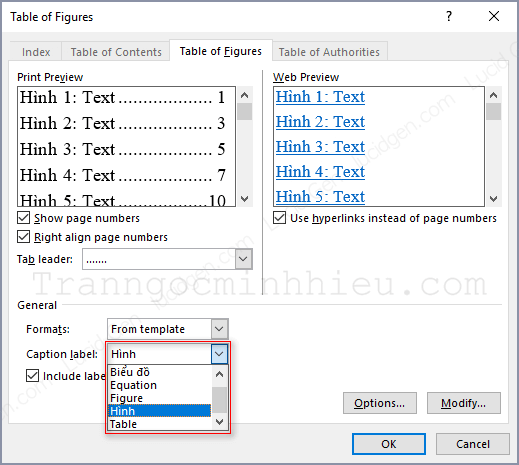
As a result, beautiful can’t be adjusted :))
Epilogue
Creating a list of tables and images by chapter will make the beginning of your essay or internship report more professional, readers only need to see what they want. If you have not created a beautiful content table of contents with many levels of Heading, please see my previous article.
If you don’t understand something or have a more convenient way, please share it in the discussion section!


