

In this article, I will show you how to install Windows on Mac so you can run it alongside macOS. It only takes a few quick steps, about 5 minutes if you are already familiar with Windows. Most of this article is screenshots, so you can follow along easily.
Should I install Windows on Mac?
Whether you should install Windows on your Mac depends on which operating system you prefer and which one has more of the software your work needs. Marketers often like having Windows on their Mac because they can use more tools, since most tools are made for Windows rather than macOS.
Ways to install Windows on Mac
For today’s MacBooks, there are 2 ways to install Windows:
Method 1: Install Windows directly on the Mac hardware, alongside macOS. This article only covers this method.
Note: Boot Camp only works on Macs with an Intel chip. Macs with Apple silicon (M1, M2, M3, M4 and later) do not support Boot Camp, so on those machines please use Method 2 instead. Boot Camp officially supports Windows 10, which reached end of support on October 14, 2025, so keep that in mind before installing.
Method 2: Use virtual machine software to emulate Windows on Mac. This suits you if you don’t use Windows often, but it is not as smooth as running it natively.
Download Windows to install on Mac
Click here to download Windows 10. Select the English, 64-bit version.
Note: When I checked again (10/2026), Microsoft’s official download page still offered the Windows 10 version 22H2 ISO, which is the final release of Windows 10. However, the same page also reminds you that after October 14, 2025, Windows 10 no longer gets free updates, technical support or security fixes. If you only need Windows to run a few apps once in a while, that’s fine, but if you plan to work and browse the web on it regularly, think twice because the system will be more exposed to attacks.

You can also install older versions of Windows, but I recommend the latest Windows 10 because it starts up faster. A MacBook’s hardware runs any version of Windows smoothly, so there is no reason to use an older one.
How to install Windows on Mac with Boot Camp
You don’t need to install any extra software, because the Mac comes with the Boot Camp app. Press Command + Space on your keyboard, then search for Boot Camp to open it.

The introduction explains that its main job is to install Windows on your Mac. Click the Continue button.
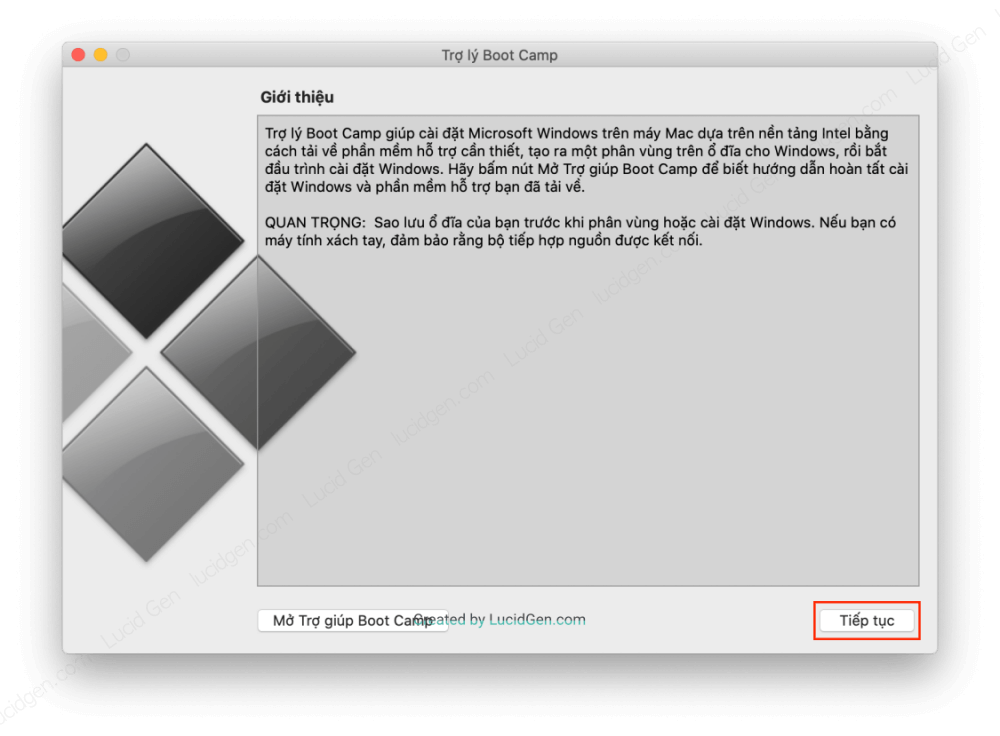
In the Install Windows step, set the following:
- ISO image: Click the Choose… button, then find the Windows file you downloaded above.
- APFS Container: Give more space to whichever operating system you use most, or split it 50:50. For example, I prefer macOS and only use Windows for a few tasks, so I make the Windows partition smaller, as in this picture.

Now just sit back and wait; your Mac will do everything for you.
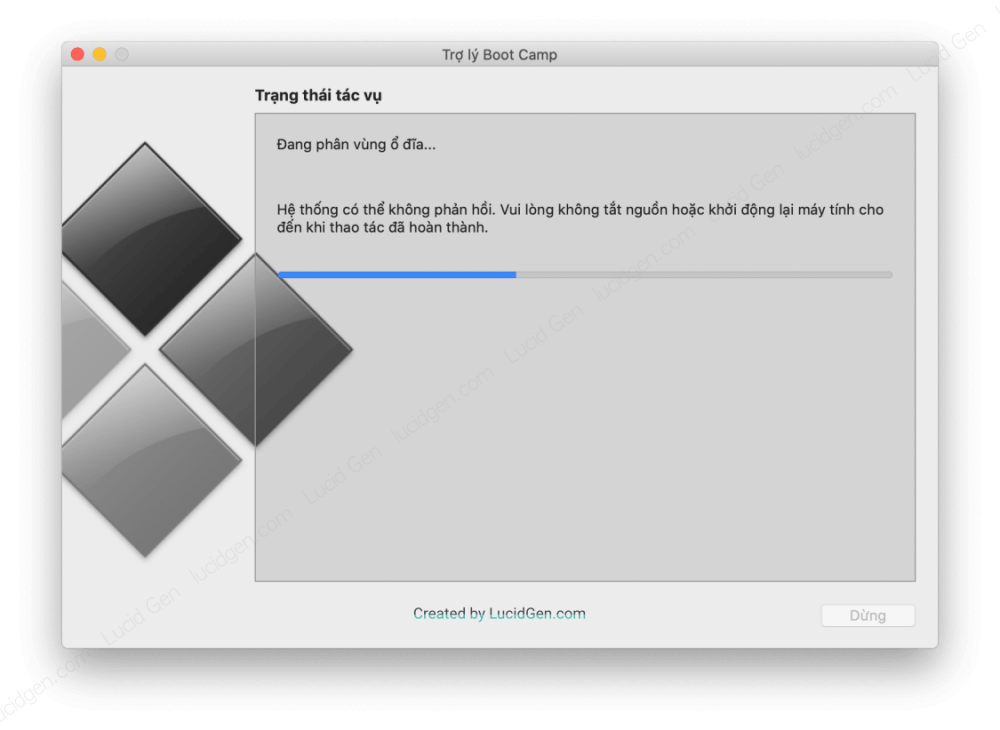
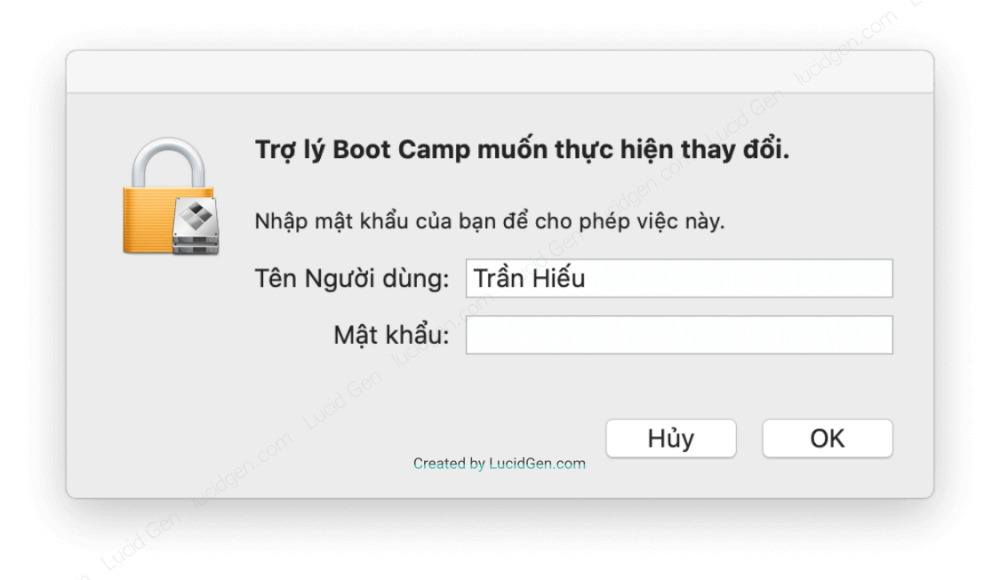
After Boot Camp has finished running, it will ask you to enter your user password. Enter it and click OK. Your Mac will restart into Windows.
From here, it is just like installing Windows on a regular laptop. If you have a product key, enter it; if not, click I don’t have a product key to skip this step for now.

Choose a Windows edition without the letter “N”. I suggest Windows 10 Home or Windows 10 Pro.
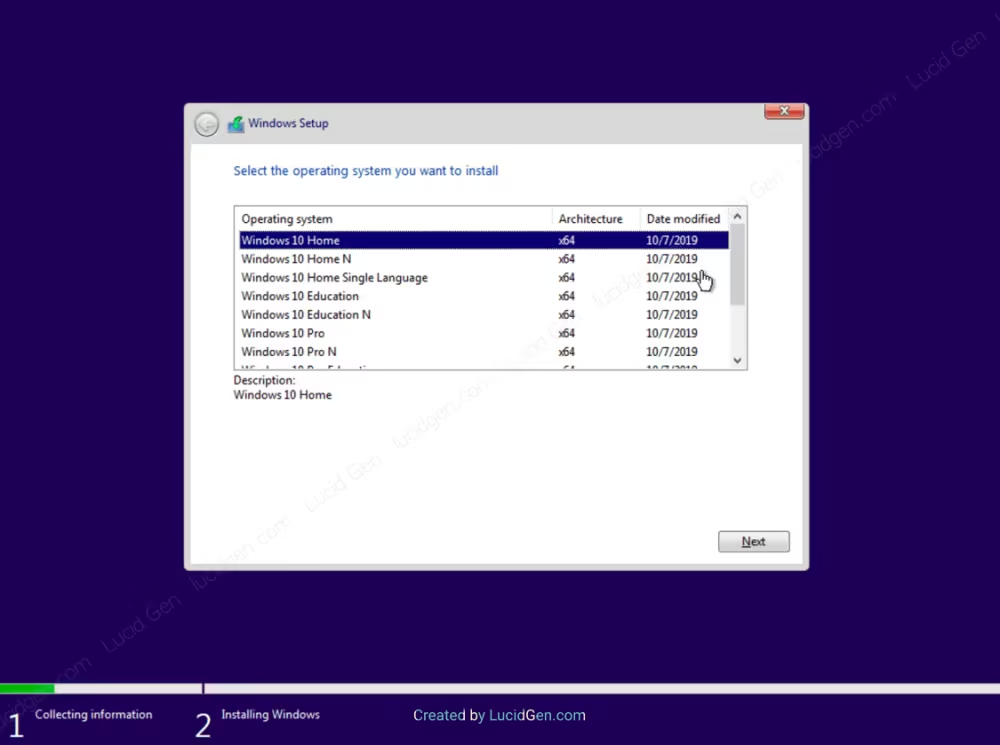
Now wait for the Windows installer to finish. Your Mac will then boot straight into the basic setup screen for the new Windows.

How to choose Windows or macOS at startup
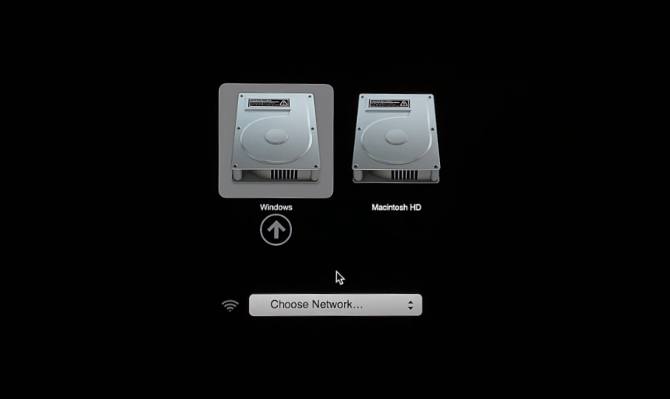
When you start or restart your computer, press and hold the Option key on the keyboard to choose between Windows and macOS.
Additional instructions when installing Windows on Mac
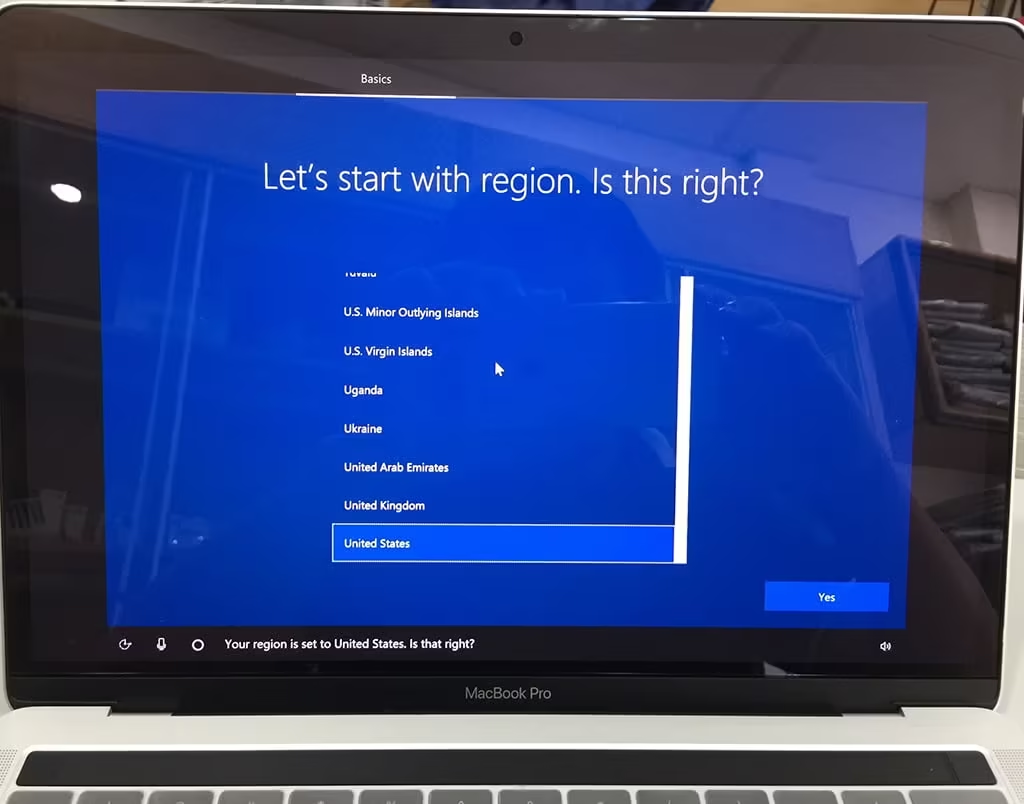
After the Windows installer finishes, you need to do some basic setup before using it. Select United States as the region.
Select US as the keyboard layout to get into Windows faster.

Click the Skip button to skip adding a second keyboard layout.

At the network connection step, click Skip for now to move on quickly.

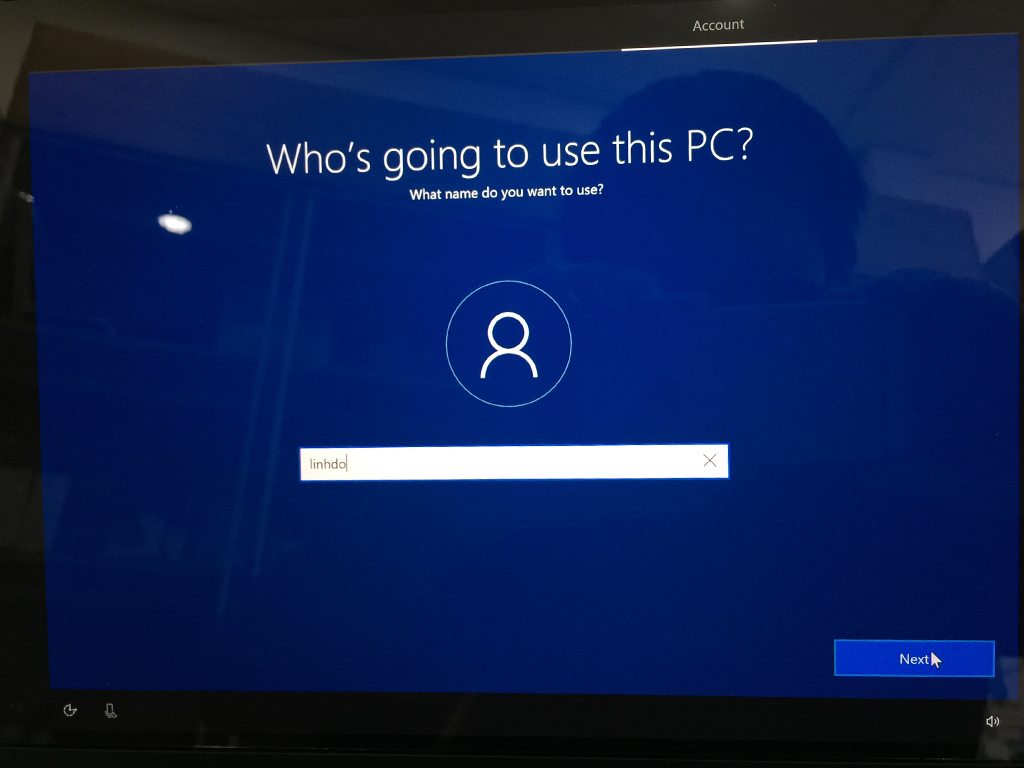
Enter a name for your Mac running Windows.
Next, enter a sign-in password for Windows.

Re-enter the password to confirm it.

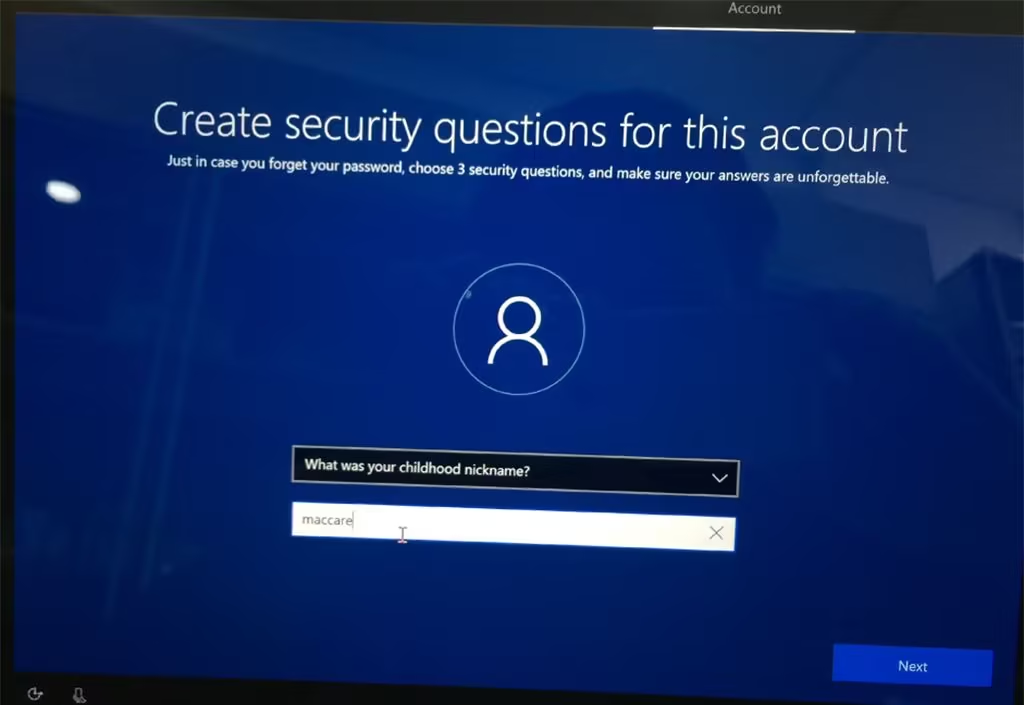
Choose security questions and fill in the answers in case you forget your password. Even if you do forget it, don’t worry: you can remove Windows with Boot Camp and reinstall it.
I find Cortana isn’t very popular in Vietnam, so you should click No to keep Cortana from running in the background on Windows.

The next screen has several options related to user experience and security. Leave the defaults and click Accept.
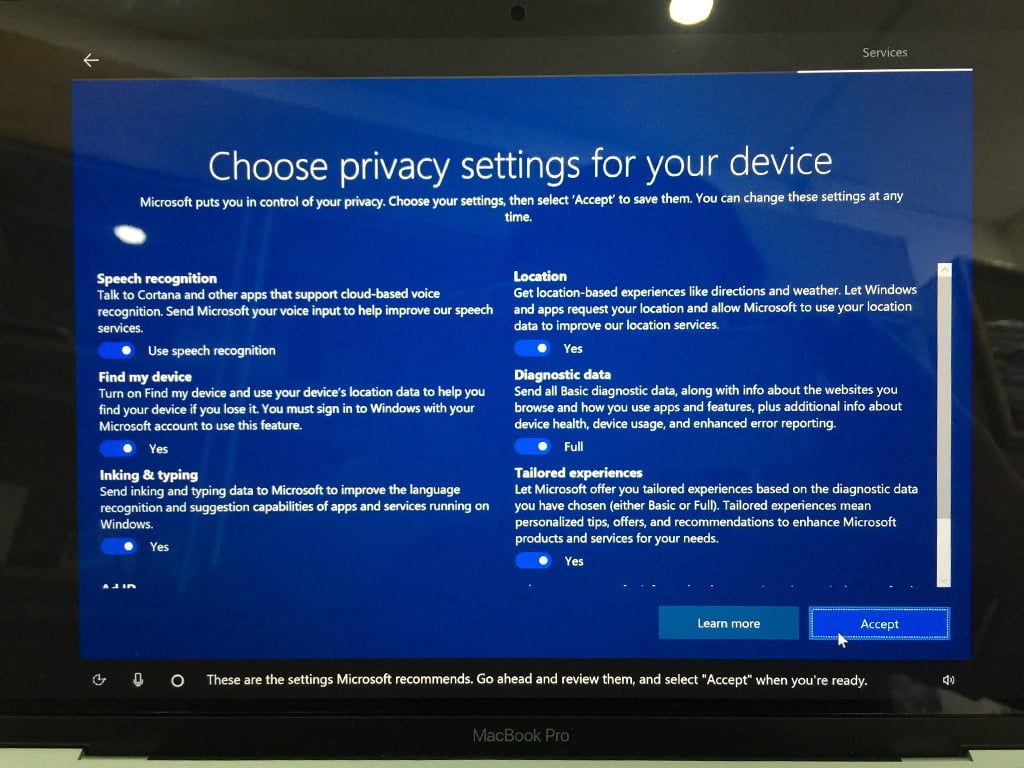
Once this is done, your Mac will start loading Windows. This takes a little while.

As soon as you get into Windows, Boot Camp appears. Click Next so Boot Camp can install the drivers for you.
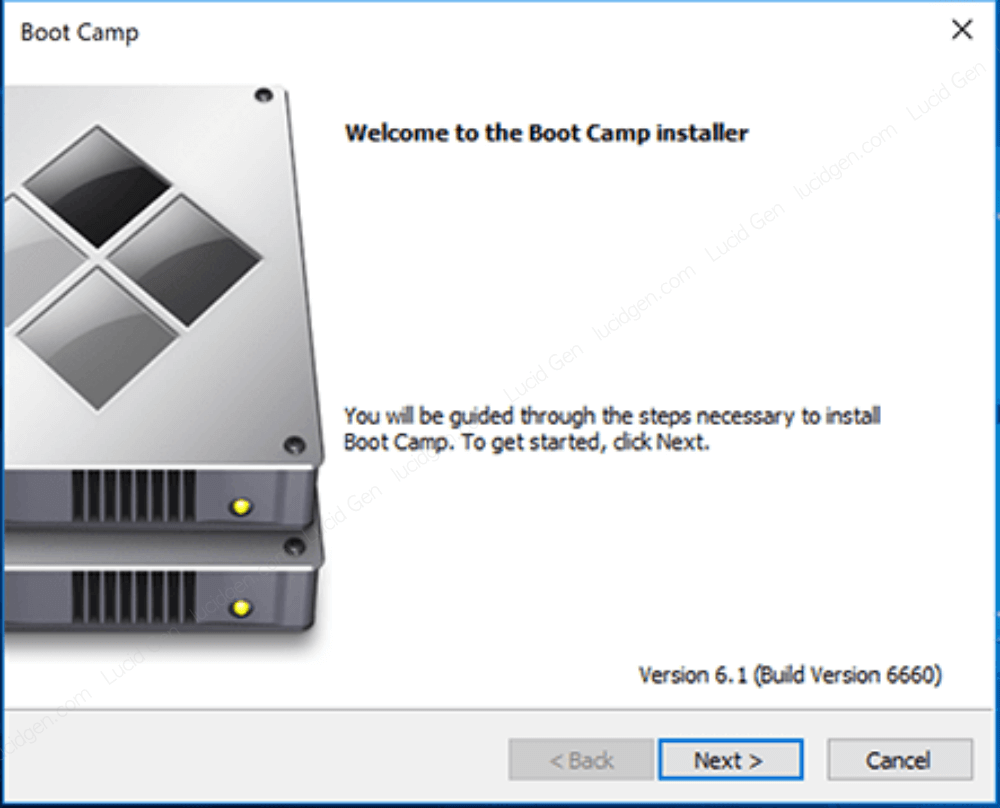
Next, select I accept the terms in the license agreement and click Next.

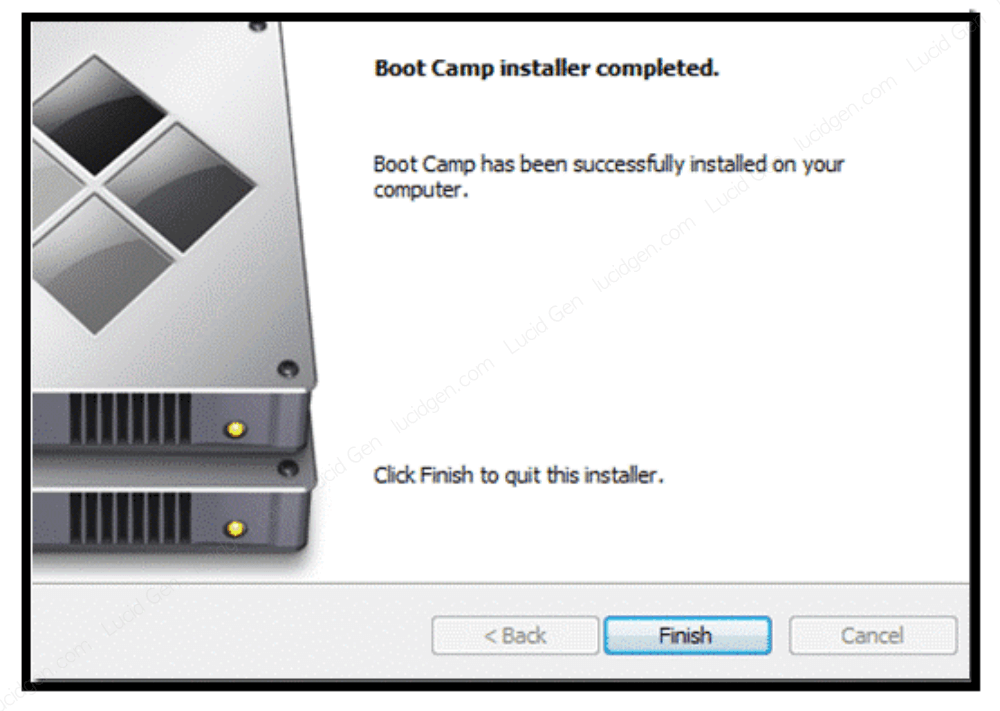
Click the Finish button to complete the installation.
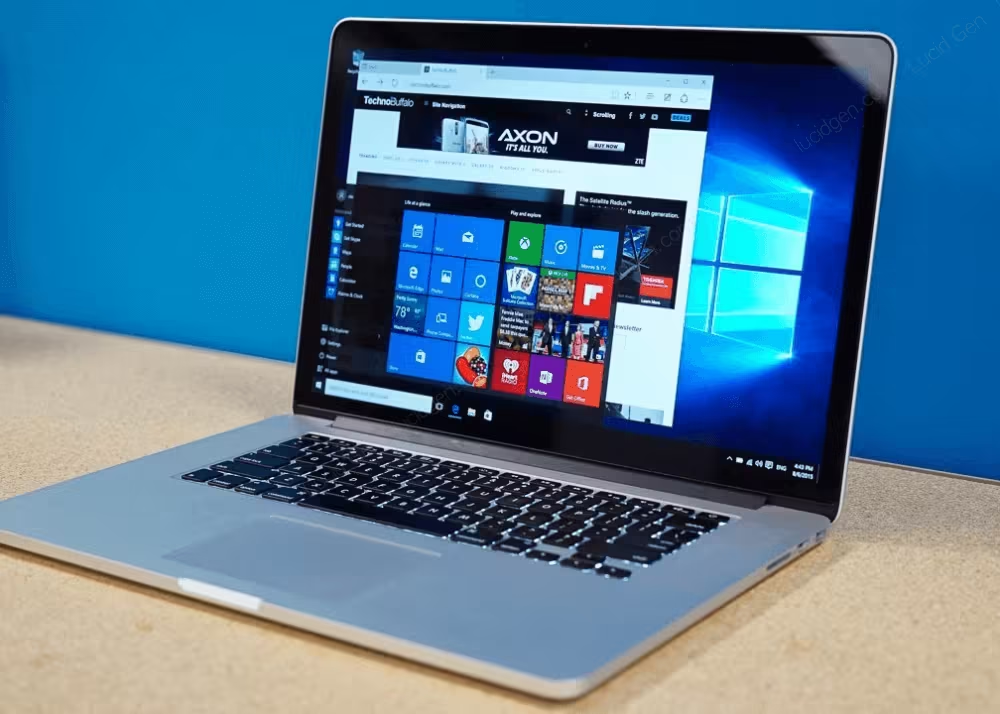
And now you have a Mac running Windows alongside macOS. Enjoy!
Conclusion
This guide is quite detailed, so it is a bit long. But if you are already familiar with Windows, you will get it installed on your Mac very quickly. Have you installed it yet? Leave a comment below and let me know.


