

You are uploading an image, theme, or plugin and it suddenly fails with the message “The link you followed has expired.” Don’t worry. This is a common WordPress error, and this tutorial will help you fix it.

What causes "The link you followed has expired"
This error is usually caused by one of the following:
- The PHP configuration on your hosting limits the maximum upload size (the most common cause).
- The website’s source code contains a line that limits the maximum upload size (rare).
How to check your allowed upload size
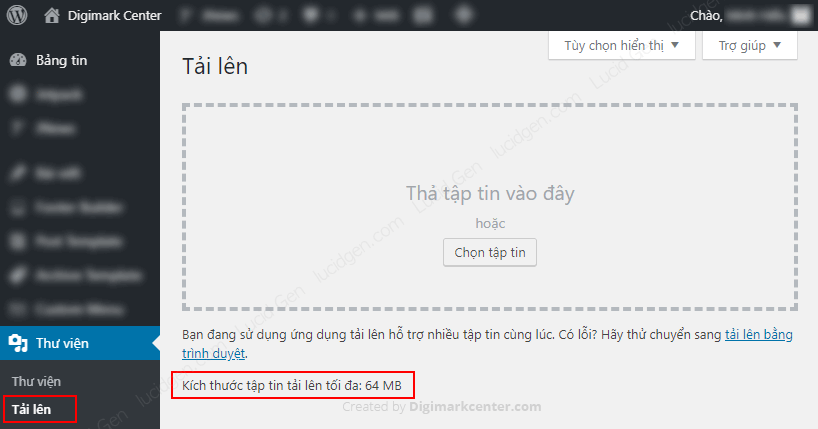
Go to your WordPress dashboard, click Media in the menu and select Add New. You will see the maximum upload file size there. Compare it with the theme or plugin file you want to upload. Is the limit smaller than your file?
How to fix "The link you followed has expired"
You only need one of the methods below to fix this error.
Edit the PHP configuration
This is the simplest way to fix the The link you followed has expired error, and I recommend trying it first.
Step 1: Log in to the cPanel of your hosting account.

Step 2: Open Select PHP Version.

Step 3: Click Switch To PHP Options in the top right corner.

Step 4: Find the lines post_max_size and upload_max_filesize and change them to the upload size you want. Don’t forget to click Save.

Upload files directly to hosting
Step 1: In cPanel, select File Manager.

Step 2: Open the public_html/wp-content folder. If you are uploading a theme, go into the themes folder. If it is a plugin, go into plugins. Then click the Upload button at the top.

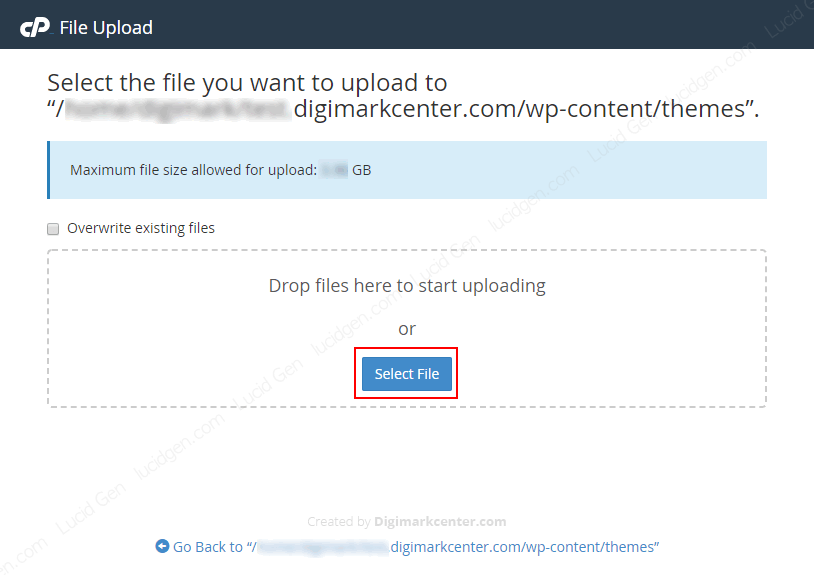
Step 3: Upload your zip file.
Step 4: Refresh the themes or plugins folder you just uploaded to (F5). Right-click the zip file and select Extract.

When the dialog appears, click the Extract File(s) button. After that, remember to delete the zip file to free up space on your hosting.

Edit WordPress code to allow larger uploads
Try one of the following ways of adding code to fix The link you followed has expired in WordPress.
Edit the .htaccess file
Open the public_html/ directory, edit the .htaccess file and add the following lines at the end.
php_value upload_max_filesize 64M
php_value post_max_size 64M
php_value max_execution_time 300
php_value max_input_time 300This only works when your host runs PHP as an Apache (or LiteSpeed) module. If your site shows a 500 error after adding these lines, remove them and use the php.ini method below instead.
Edit the php.ini file
Also in the public_html/ folder, if you see a php.ini file, edit it and add the lines below. If the file doesn’t exist, you can create it yourself. Some hosts running PHP-FPM read a .user.ini file instead of php.ini, and the contents stay exactly the same.
upload_max_filesize = 64M
post_max_size = 64M
max_execution_time = 300Edit the functions.php file of your active theme
Go to public_html/wp-content/themes/your-theme/, open the functions.php file and add these lines.
@ini_set( 'upload_max_filesize' , '150M' );
@ini_set( 'post_max_size', '150M');Note: According to the PHP documentation, upload_max_filesize and post_max_size can only be changed in php.ini or .htaccess, not with ini_set() while the site is running. So on many hosts this method won’t have any effect, and you should try the methods above first.
Conclusion
One error, many ways to fix it. Just pick the one that suits your hosting to get rid of The link you followed has expired. Did this article help you?


